Showing posts with label Fun Stuff. Show all posts

Wednesday, September 28, 2011

My Favorite Holiday!

I'm not sure when it happened, but Halloween has been my favorite holiday for years. It's possible that my love for candy corn is responsible, but it could also be that Halloween marks the time of year when my home transforms and takes on new life every month from now until spring.

I've been wanting to revamp the black feather wreath I made several years ago, and I couldn't wait until October.  I got several ideas from pinterest (my new little buddy) that I wanted to incorporate.

The first was this one:


http://www.thepennyparlor.com/2010/09/coffee-filter-wreath.html


It's a great cheap way to make a wreath HOWEVER, it wasn't a great solution for the wreath I made because it wasn't strong enough to hold everything without losing shape.  After the first wreath, my daughter and I made two more smaller ones, and the tubing worked okay.

After duct-taping the wreath, I made a witch's hat out of some felt and black fabric I had laying around.  I tried to hot-glue it to the wreath.  OOPS!  The glue melted the foam in record time!  I ended up just pinning things or using skewers to attach things to the wreath.


Next I dug through an old costume box for a pair of tights.  I cut off about a foot and stuffed each "leg."  For subsequent wreaths (since I didn't have any more tights, I cut each leg in half and sewed up the sides, creating a much skinner "leg" which I actually like better.


I tied each leg to the bottom of the wreath like this:


I thought the hat looked a little boring so I found a purple flower and some halloween ribbon to spruce it up:


I came across this skull at Michael's and attached it with a skewer:


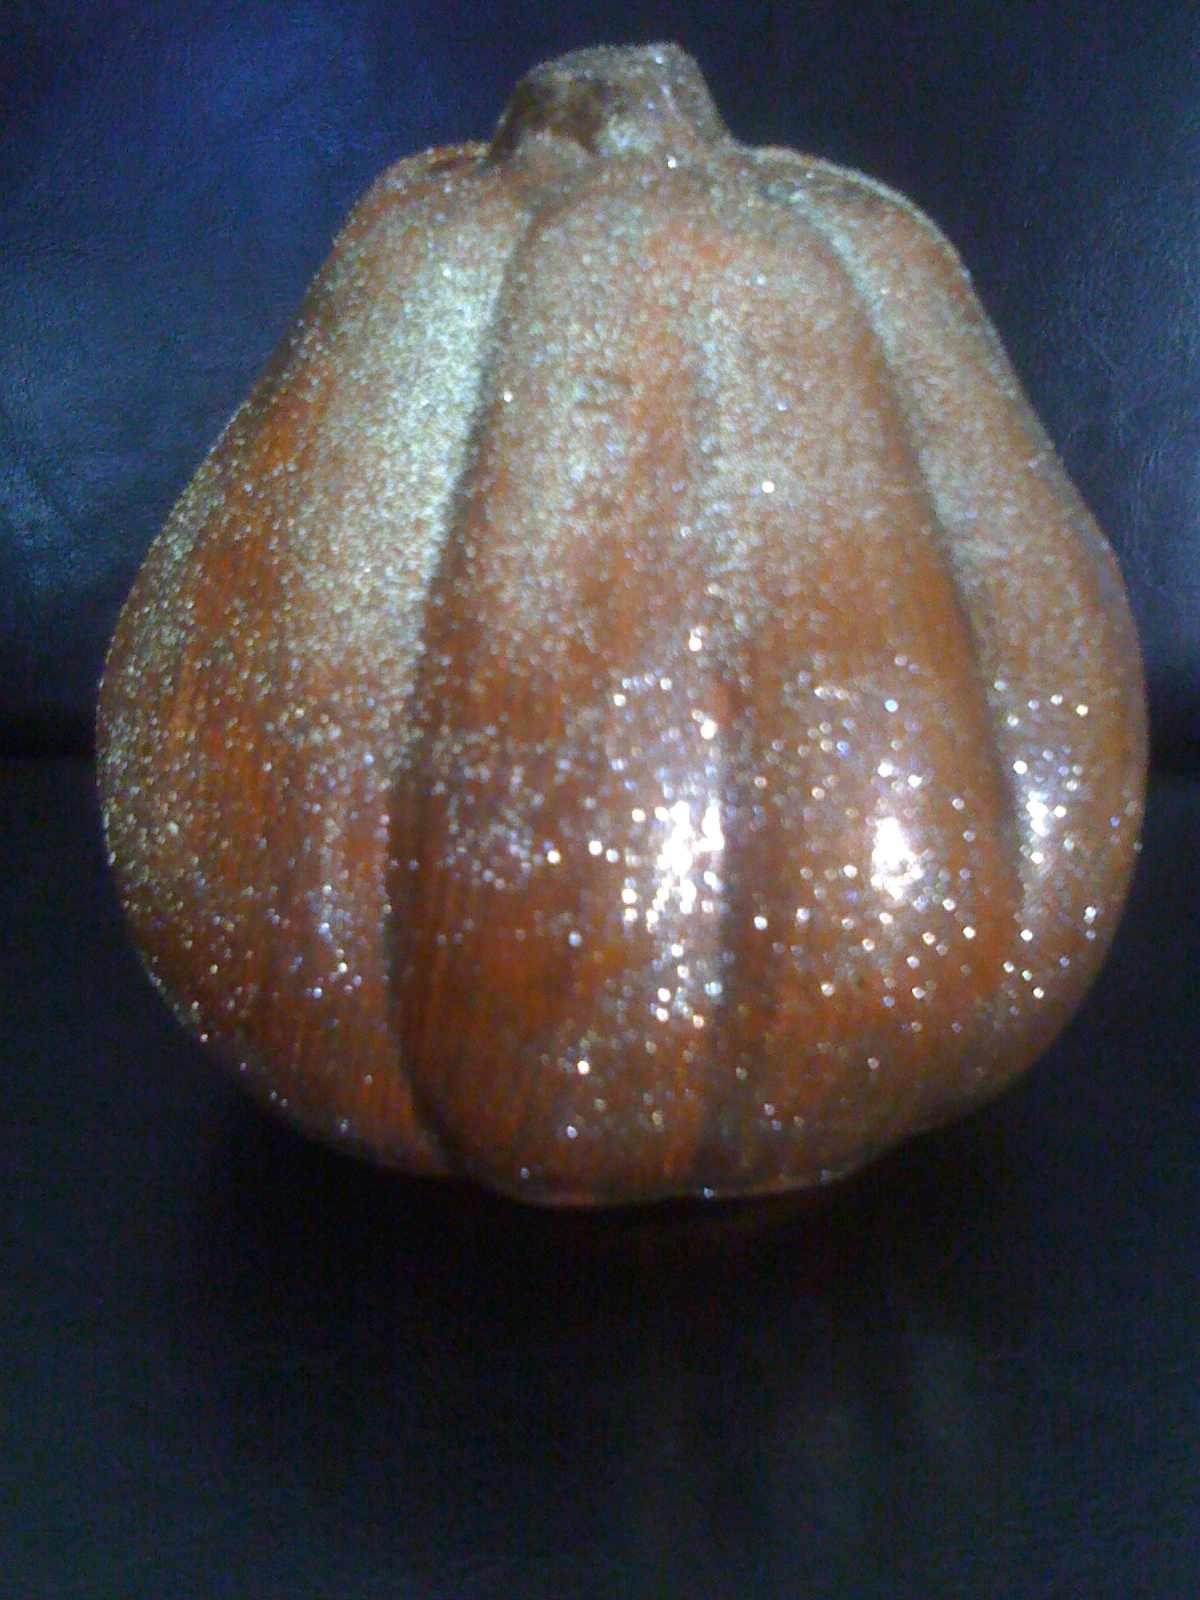
I just kept digging through Halloween boxes and craft supplies to see what I could come up with.  I found this cute little guy and gave him an instant makeover with some glaze I had laying around and some glitter.  I think you could even just brush elmers glue or modge podge on the pumpkin and glitter it up.  I didn't care about the face since it wasn't going to show:


The finished product actually looks a little better in real life, but this is the best photography I could do with my phone:


I found clear glass bulbs in my Christmas supply and glittered them up.  After I attached everything I wanted, I took two black feather boas (from Michael's) and wound them around the wreath.  I also found ribbon and tulle to cover the spots that the boa didn't quite cover.  VOILA!

Notice how the weight of the wreath sags? :(  Kacey and I made two more just a little smaller and with other items we'd found either laying around or at the craft store.  I like these much better but Kacey has to take them to work.


The best part of the project, believe it or not, wasn't even getting an earlier start to my favorite Holiday.  It was spending the time with my daughter creating something awesome!

Friday, September 23, 2011

Cheap and Adorable T-shirt Makeover

It's that time of year again.  Actually, in our case, since it's not actually a yearly thing due to the stress I heap upon myself and coordination required to get everyone together and looking halfway decent, it's more like that time of every-three-years again.

Family Pictures

I've combed Pinterest for hours in search of original photo ideas.  I know, "Pinterest" and "original" don't belong in the same sentence.  Nevertheless, I make no claims to originality, and I've already confessed to being a pinposter.

While scouring for pose ideas and outift ideas, I came across this one for Kami.

Our colors are:

Or something like that (the last one is gray, not light blue)

I got the idea here: http://tearosehome.blogspot.com/2010/03/tutorialruffle-shirt-why-not-vertical.html

I purchased two orange shirts on major clearance from DownEast.  Each was marked down to $2.50, so the finished ruffled shirt and a headband cost only $5.00!!!

The end result?


Once again, I have Pinterest to thank for feeling so frugal and crafty and awesome!

Saturday, September 17, 2011

I'm a Pin-poster!

I've found a new hobby (addiction, if you ask my family) called Pinterest.  It's this awesome virtual bulletin-board where you "pin" ideas you find anywhere on the internet.  You categorize the stuff you like into "boards" like "party ideas," "home decorating," " recipes," "favorite quotes," etc.  Because of Pinterest, I am able to feel incredibly creative, witty, and organized, when all I've really done is sit in front of the computer for three hours "pinning."

At last count, I have 28 different boards on which I've pinned 692 things.  I'm too embarrassed to admit how much time I spent gathering those pins, but I'm proud to say that, as of today, I have actually done 12 things that I've pinned!  I think this makes me officially a "Pin-poster"--someone with the ability to copy, re-create, or duplicate an idea they saw on Pinterest.  That's a term I made up, so don't go trying to use it on Words with Friends.

My favorite re-creation is this awesome monster birthday cake:

I love it for several reasons, not the least of which is that it looks just as good as the original I found here: http://www.makoodle.com/monster-cake/. I even made a little improvement by covering the skewers with pipe-cleaners!  On top of that, I actually used TWO pins, because I got the frosting recipe here:

My sweet friend, Heather, from http://whipperberry.com/, is an amazing blogger, creative genius, mom, and all-around super-woman.  I aspire to be her. Every time I go over to her house there is something new and awesome that she has created.  In other words, Heather doesn't just pin stuff and call it a day, she creates the stuff the rest of us pin!  Since among other things, Heather is a food photogrphaer, one of her favorite books is:
Plate to Pixel: Digital Food Photography & Styling

I always joke with her that I'm going to write my own book one day.  I'm going to call it "From Pixel to Plate--Lost in Translation."  The book will be filled with all my recipe fails because every time I try to re-create a recipe, it NEVER EVER EVER looks like the picture in the book.

Maybe I won't have to write the book after all, because today I made somethine awesome!  I feel so accomplished!

I have to thank Jake for having a birthday for which I could justifiably create my monster cake.  Jake is my daughter's boyfriend, and he's nineteen.  He may have liked the cake better when he was five, but he was kind enough to indulge me and pretend like the cake was the best he's ever had (okay, he didn't actually say that, but I saw it in his eyes.)


It's possible I'm emotionally scarred when it comes to cake making.  The last time I put as much time and energy into a birthday cake was the "Great Princess Cake Debacle of 1998."  That was the year I spent the better part of two days building a stunning "Belle" cake for Kacey, who was then four.  After the singing, candle-blowing, Kacey said, "Thanks for the cake, Mommy, but next year can you make one I like?"  It's been Costco cakes ever since.

With several years of thickened skin and the wonders of Pinterest as encouragement, I was ready to try my mad skills again.  It was Jordan's birthday earlier this week, so I casually asked if I could make him a cake and what kind he'd like.  His response was, "Nah, a Costco cake is fine."  He was only two when I made the Belle cake.  How is it possible the Belle cake was so bad that even he isn't ready for a home-made cake?

Thursday, September 15, 2011

Temple Picture Project

A few weeks ago we made these awesome temple pictures in Relief Society:


During the project my friend commented how awesome it would be to have a whole wall of temple pictures. Of course, I went straight home and started planning how I was going to do it.  On a tight budget of exactly $0 for craft and home decorating, I knew I was going to have to get creative!  I couldn't afford the $30-$120 per picture it cost at the activity, so I starved my family for a week and used grocery money to make my own temple pictures for less!

Newport Beach

Los Angeles (nice iPhone blurring technique)

Kirtland (Kami's favorite)

Nauvoo (we went there a couple years ago for a family reunion)


St. George

Now I just have to finish the others (Oakland, Las Vegas, San Diego, and Logan) so I can hang these on my new temple wall!

The pictures were taken by Altus Photo Design and can be found here :  http://www.flickr.com/photos/31543164@N08/tags/ldstemple/ 

I double checked to make sure it was legal to download the photos and use them for myself before I had them printed at Costco.  The prints cost $.39 to $2.99 each depending on the size.  The smallest print is the Los Angeles (4x6), and the largest is the Las Vegas (6x18 which I haven't completed yet.)

After Costco, it was off to Home Depot, where I had to give the wood-cutting employee a free lunch at our sub shop (shameless plug here: FIREHOUSE SUBS on Flamingo and Ft. Apache in Las Vegas.) so he wouldn't charge me $.50 per cut for the 19 cuts I needed on the 4x8 piece of wood I planned to use to back the pictures.

While at Home Depot, I utilized my big-girl panties and sawed close to a million pieces of various widths of baseboard moulding to use for my frames.  The thinnest is 3 1/2" and the widest is 6"--I bought the pre-primed mdf because it seemed like less work than the non-primed stuff.

With my backing and moulding in tow, I headed to the paint counter where I spent something like two hours deciding which black was the "right" one--who knew there were so many shades of black?!?  And seriously, those little samples of wood that demonstrate the "sheen" are useless.  I spent another hour before I finally settled on semi-gloss.

The following morning, I woke my teenage son up around 1:00 in the afternoon with the sound of power tools.  Jordan was geniunely concerned enough to call my husband at work to ask if it was okay that mom was using a power miter saw in the back yard.  I guess he was afraid it wasn't safe enough to just come ask me...

With all my pieces cut and only one or two minor mistakes, I was ready to use another PINTEREST tip!


What a clever idea!  A rubber-band around the paint can kept the whole can nice and clean which totally satisfied my "keep-my-projects-neat-and-tidy" ocd.  Okay, that's not technically a form of ocd, but I have it anyway.

Here are my cut frames neatly resting on plastic cups on newspaper on my dining room table:


I didn't take pictures of staple-gunning the frames together, but I will next time, because it's not as easy as it seems.  You definitely need a frame thingamagig that holds the frame perfectly square while you staple.  The correct term may be "band clamp" but I'm not sure.

I can't wait to use this idea I found on PINTEREST to hang my pictures!